Whether you’re at a music festival, backyard BBQ, or just hanging out with friends at a park, hooping is a great way to express your creativity and let yourself be free. And get some amazing exercise! There are lots of ways to personalize a hula hoop just for you, and we recently learned how to make a hula hoop and wanted to share the steps. So read on to learn how to make a hula hoop using items commonly found at crafting and hardware stores!
 Supplies to Make a Hula Hoop:
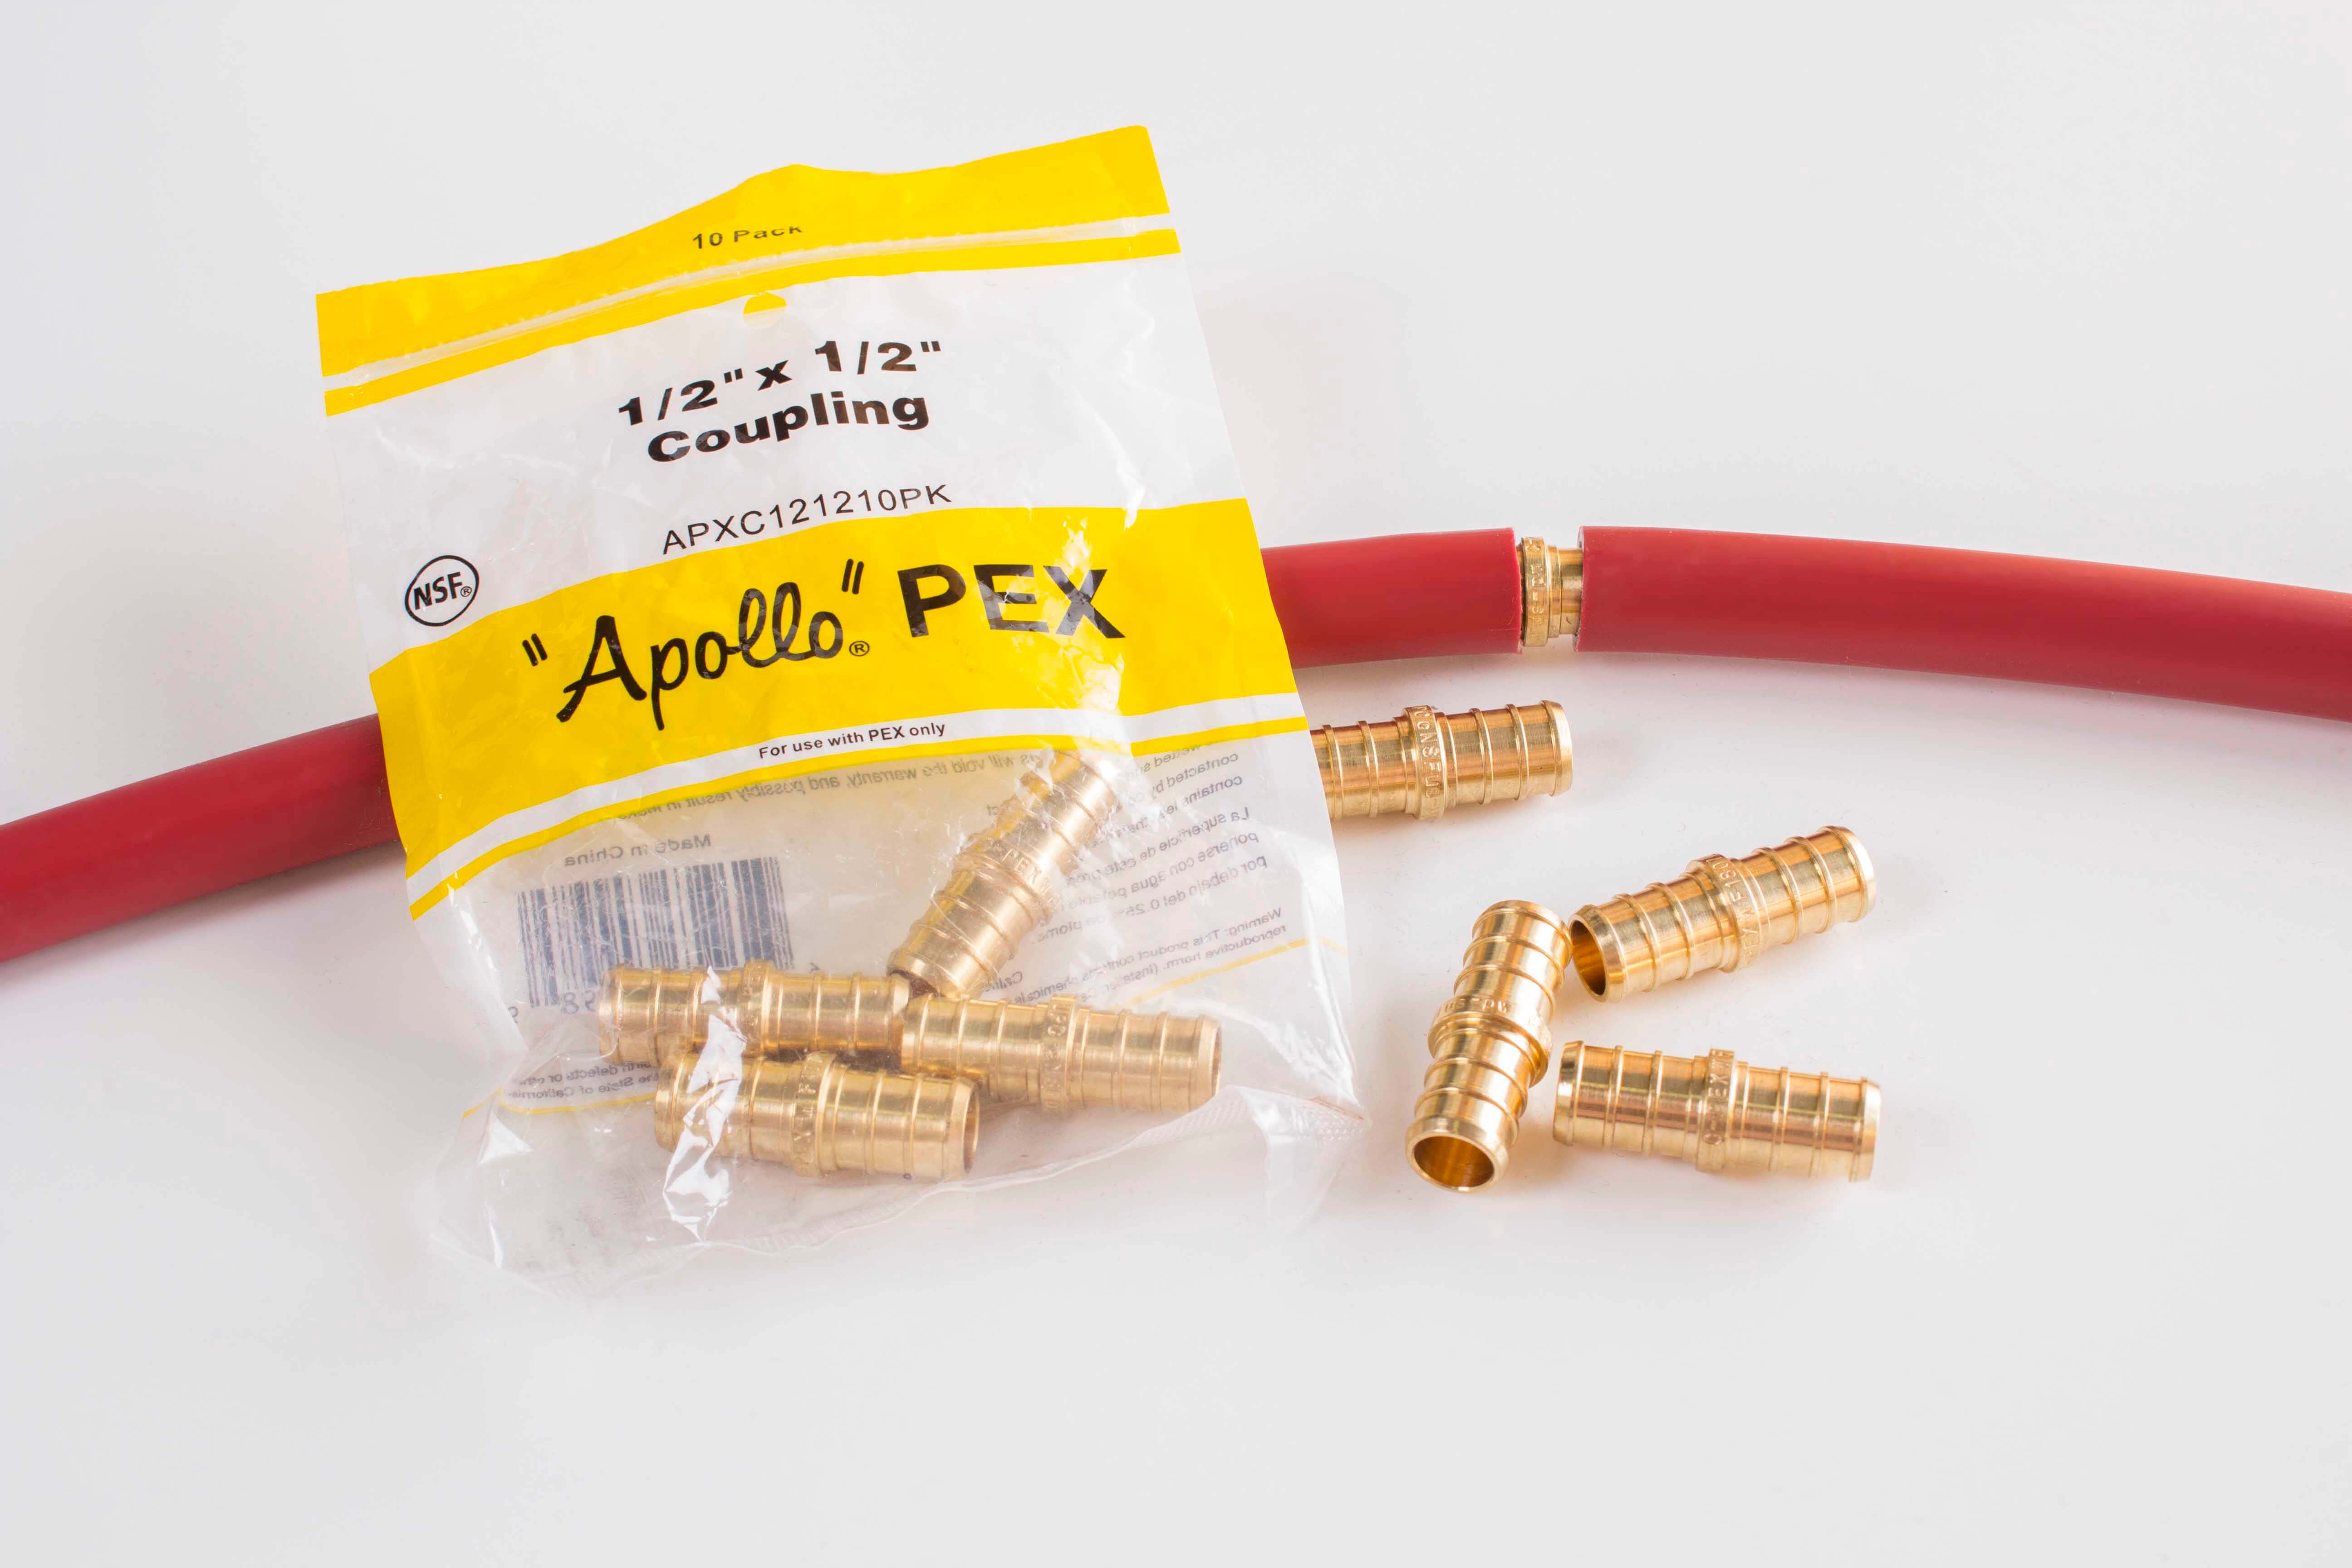
- Plastic Tubing – We used a 1/2″ Pex Pipe (PE) from a local hardware store. The most commonly used tubing includes: PE (polyethylene) which is best for beginners, HDPE (high density polyethylene) which is slightly more rigid, and Polypro (polypropylene) which is fast and springy.
- Coupling – This can be found at most hardware stores, just make sure it’s the right size! Note: If you’re using HDPE or Polypro, you’ll need tubing that is 1/8″ smaller than the size you selected and two rivets to connect the ends.
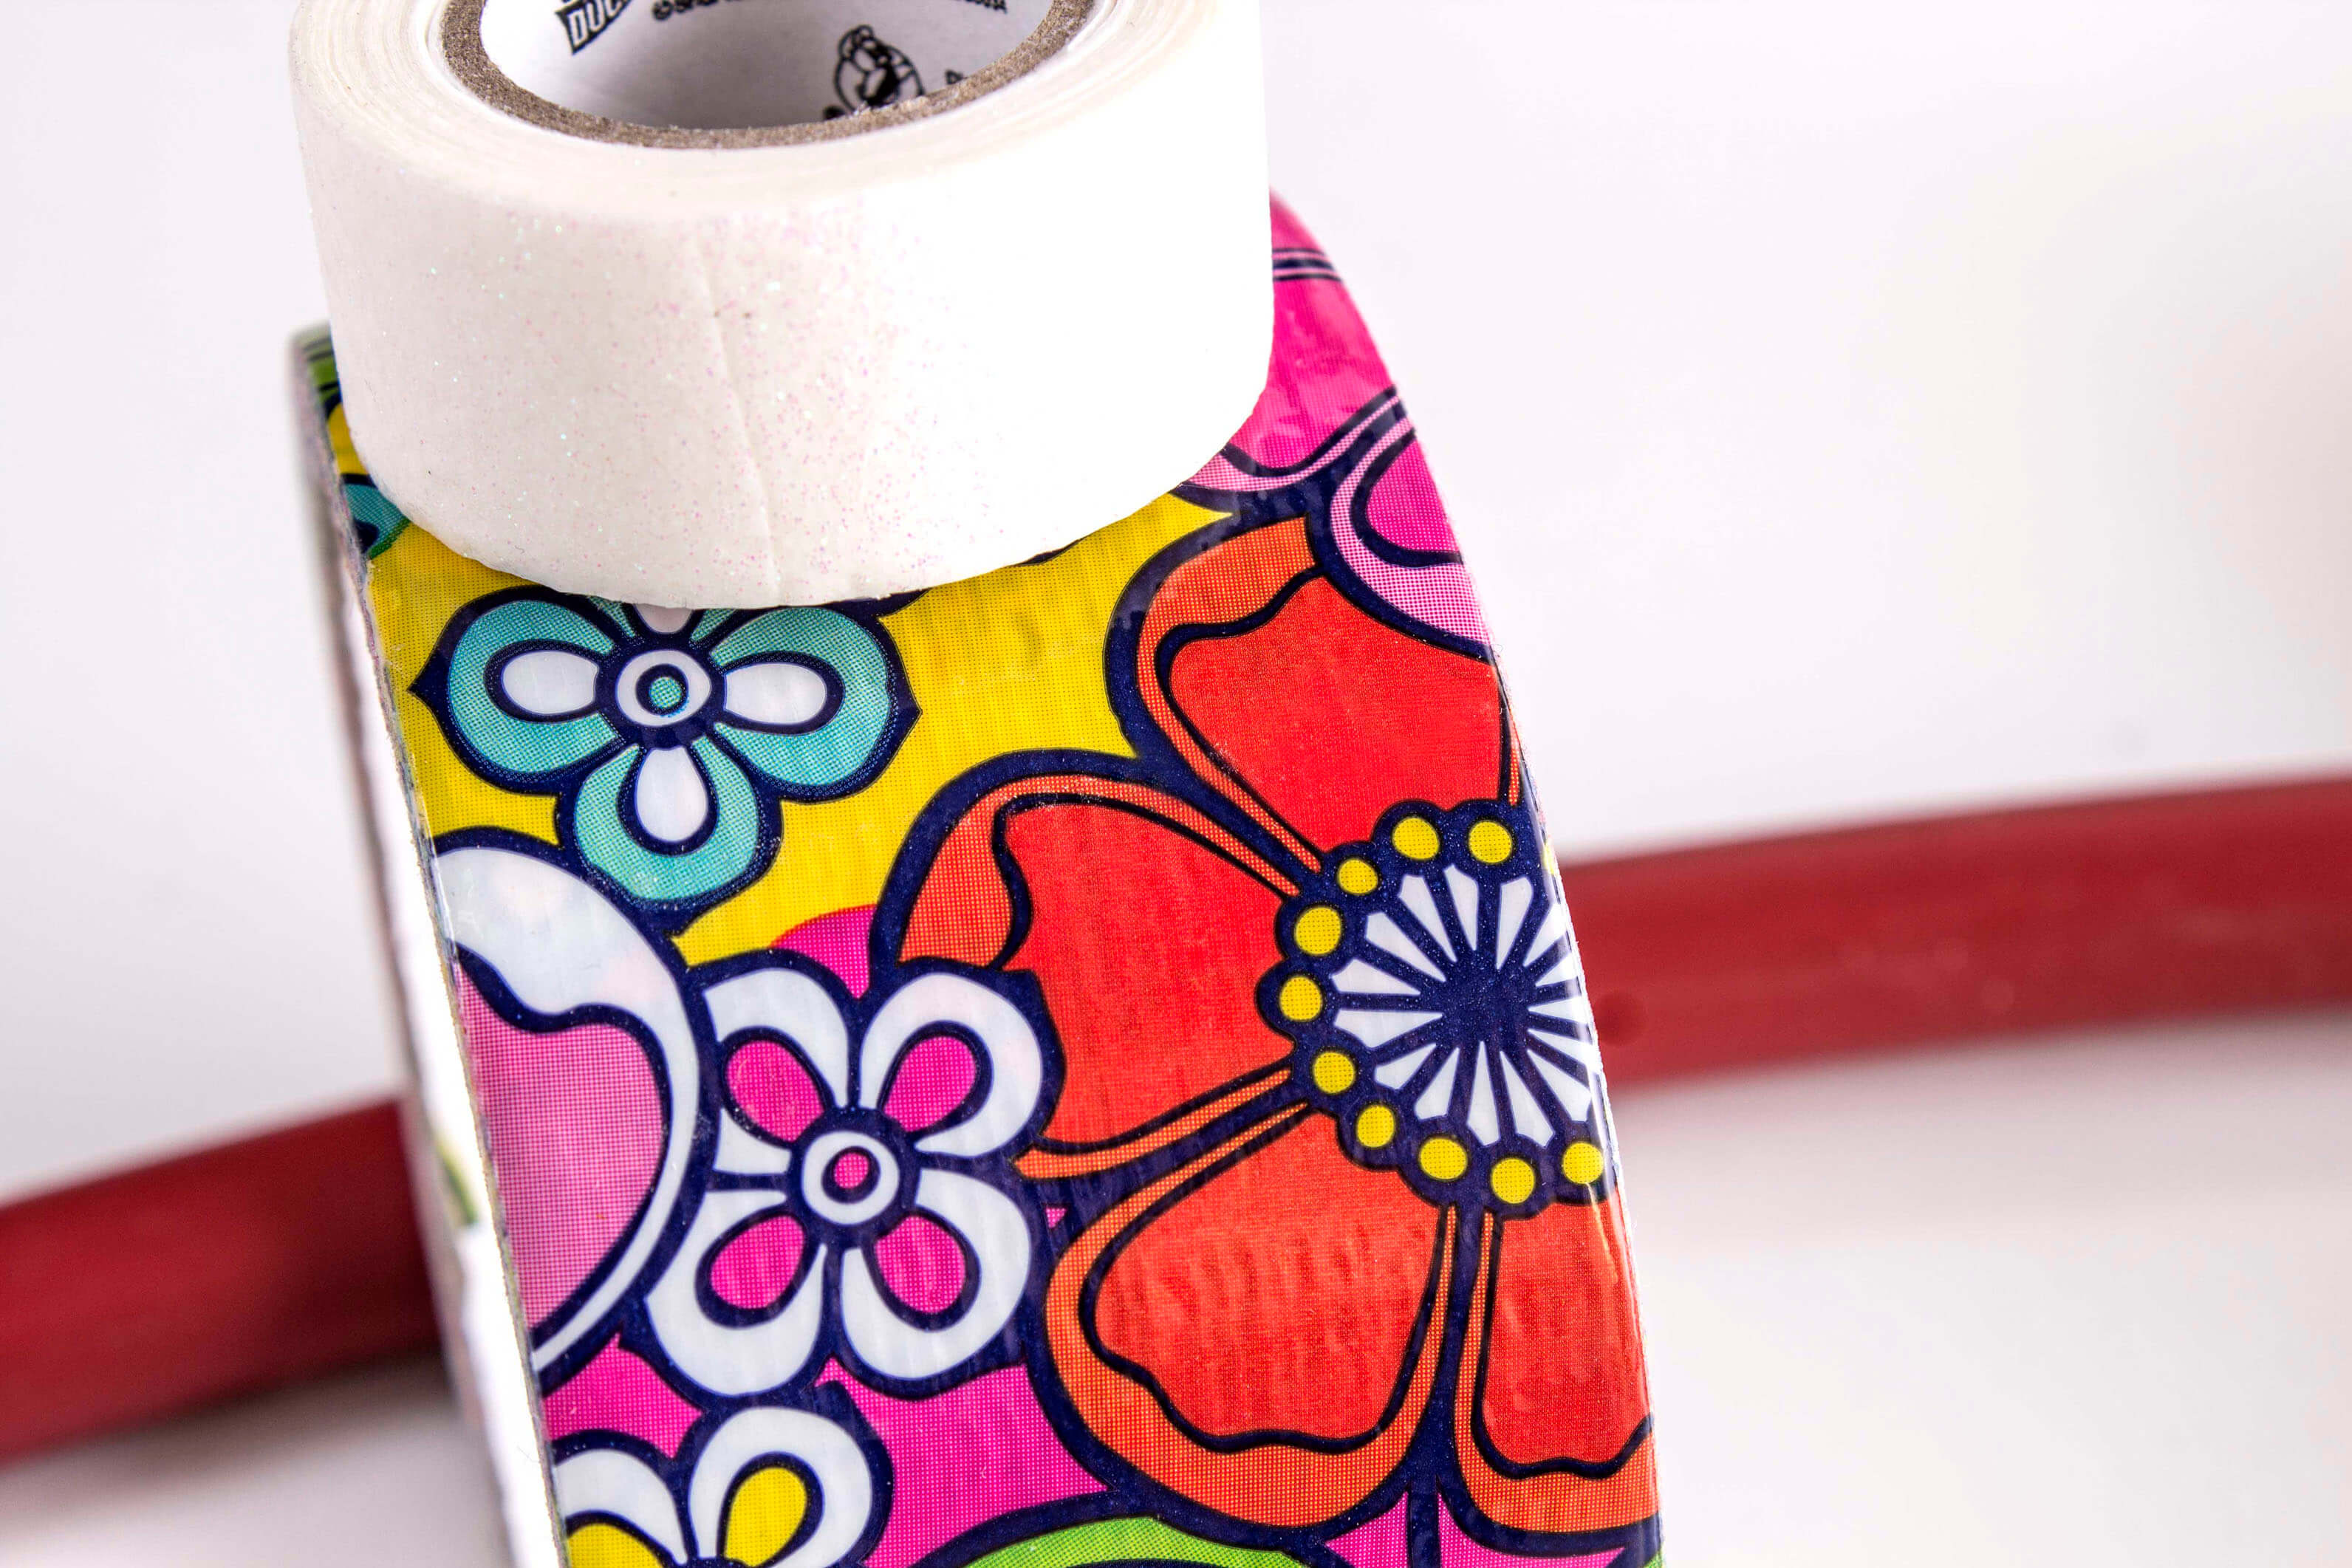
- Tape – We used duck tape and a sparkly crafting tape, but electrical and gaffer tape are other great options. Check out your local crafting store and pick out whatever catches your eye!
- Hand/Table Saw, or Box Cutter – Use this to cut your tubing.
Steps to Make a Hula Hoop:
Begin by selecting the circumference of your hula hoop. Smaller hoops are better for tricks, while larger hoops are typically used for regular around-the-waist hooping. Cut your tubing and secure the ends with your coupling.
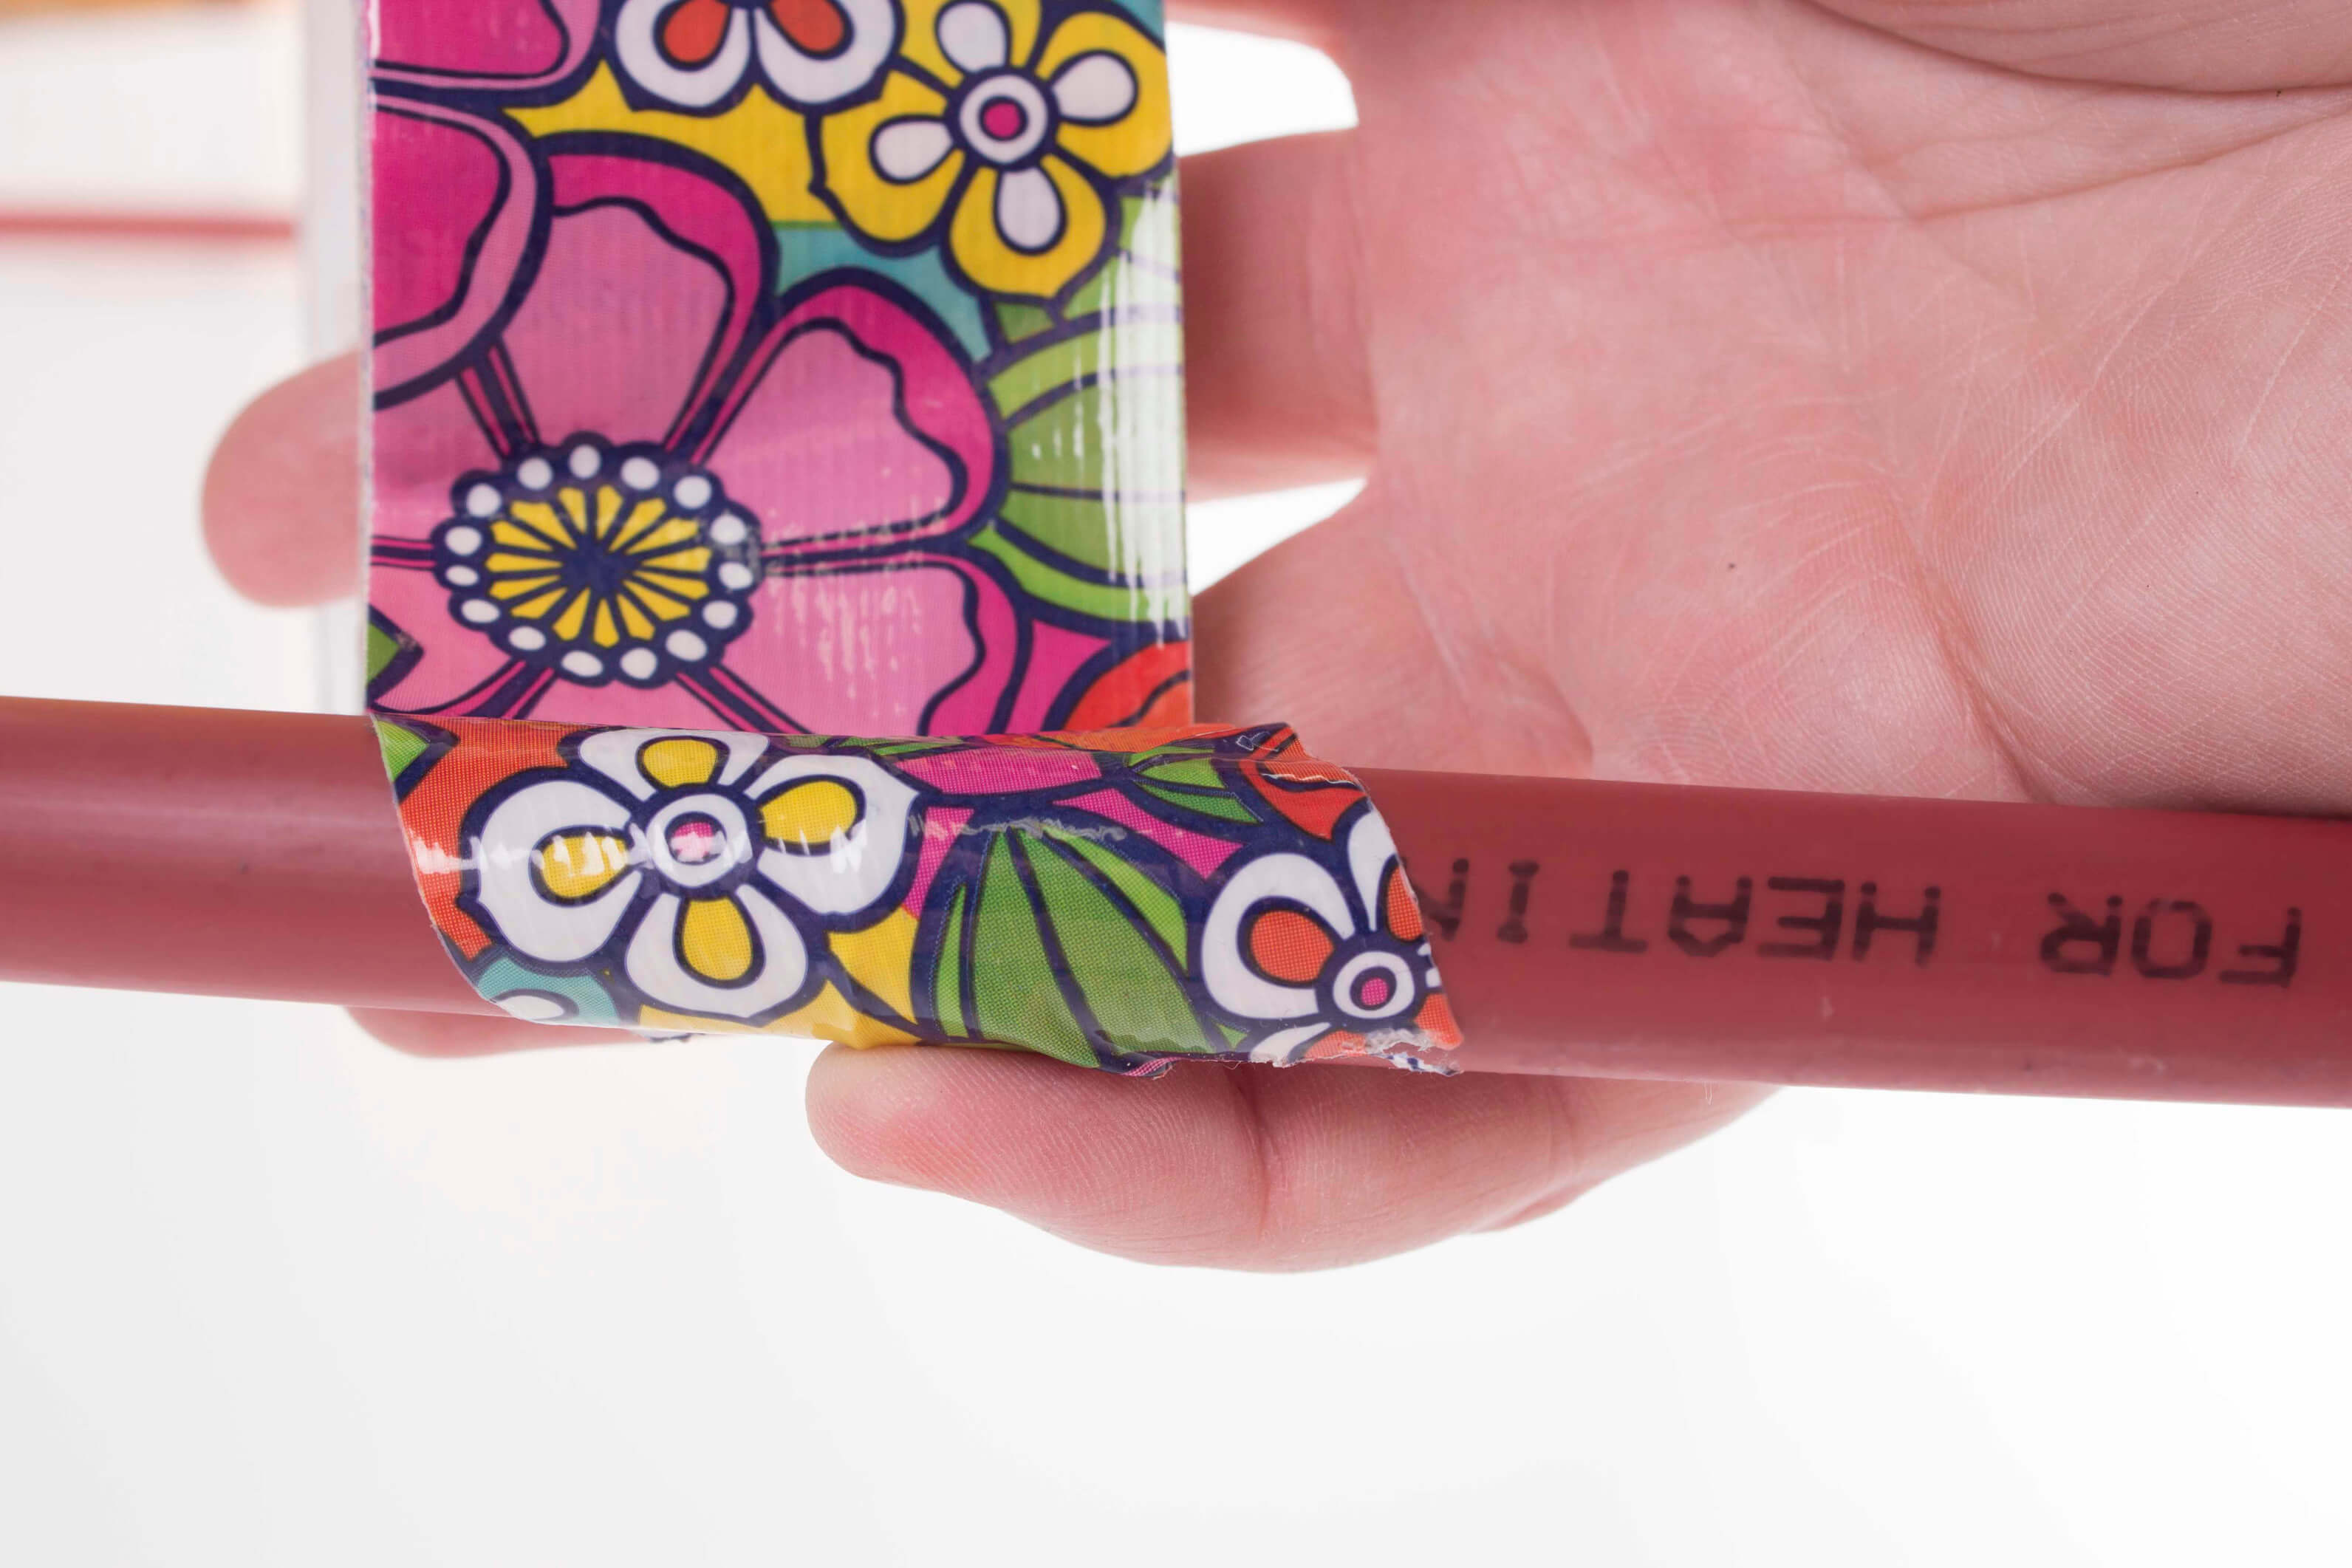
Cut a piece of tape that is a couple inches long and use that to add an extra layer attaching the two ends to the coupling. Then, begin to wrap your tape, at an angle, around your hoop.
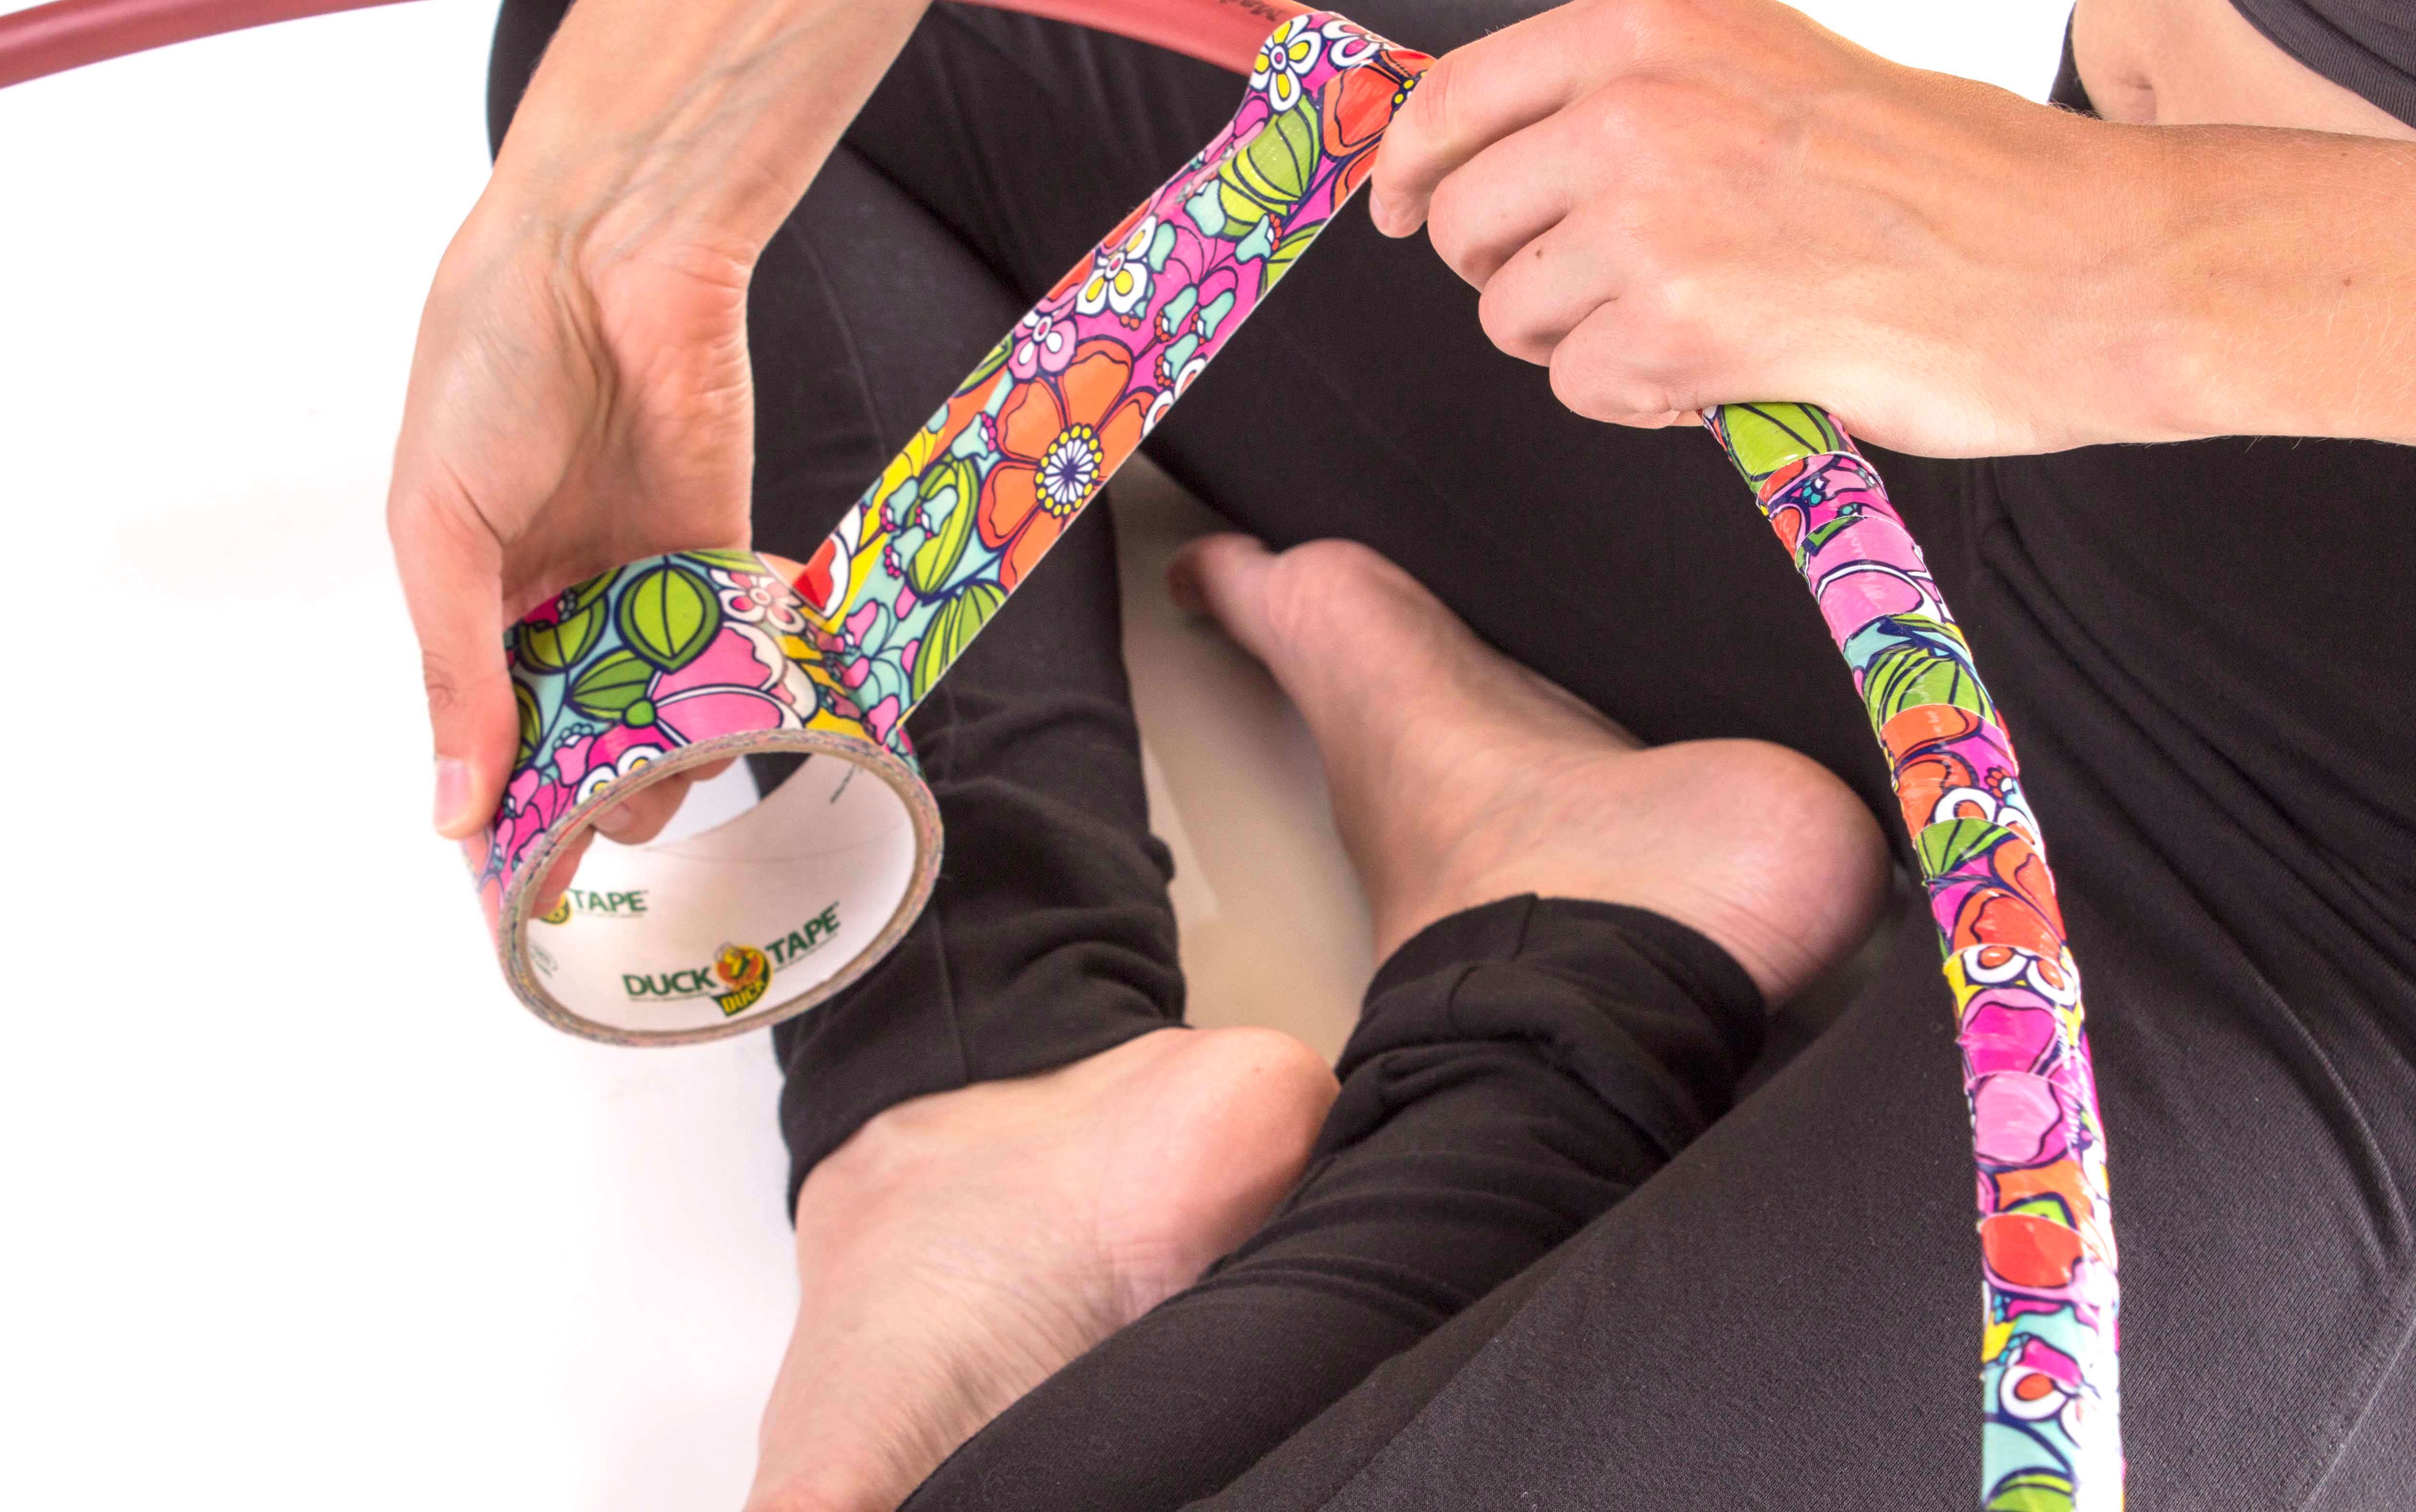
Be sure to keep the tape tight and taught as you wrap it around your hoop. This will help it last longer and keep it from peeling off while you’re hooping.
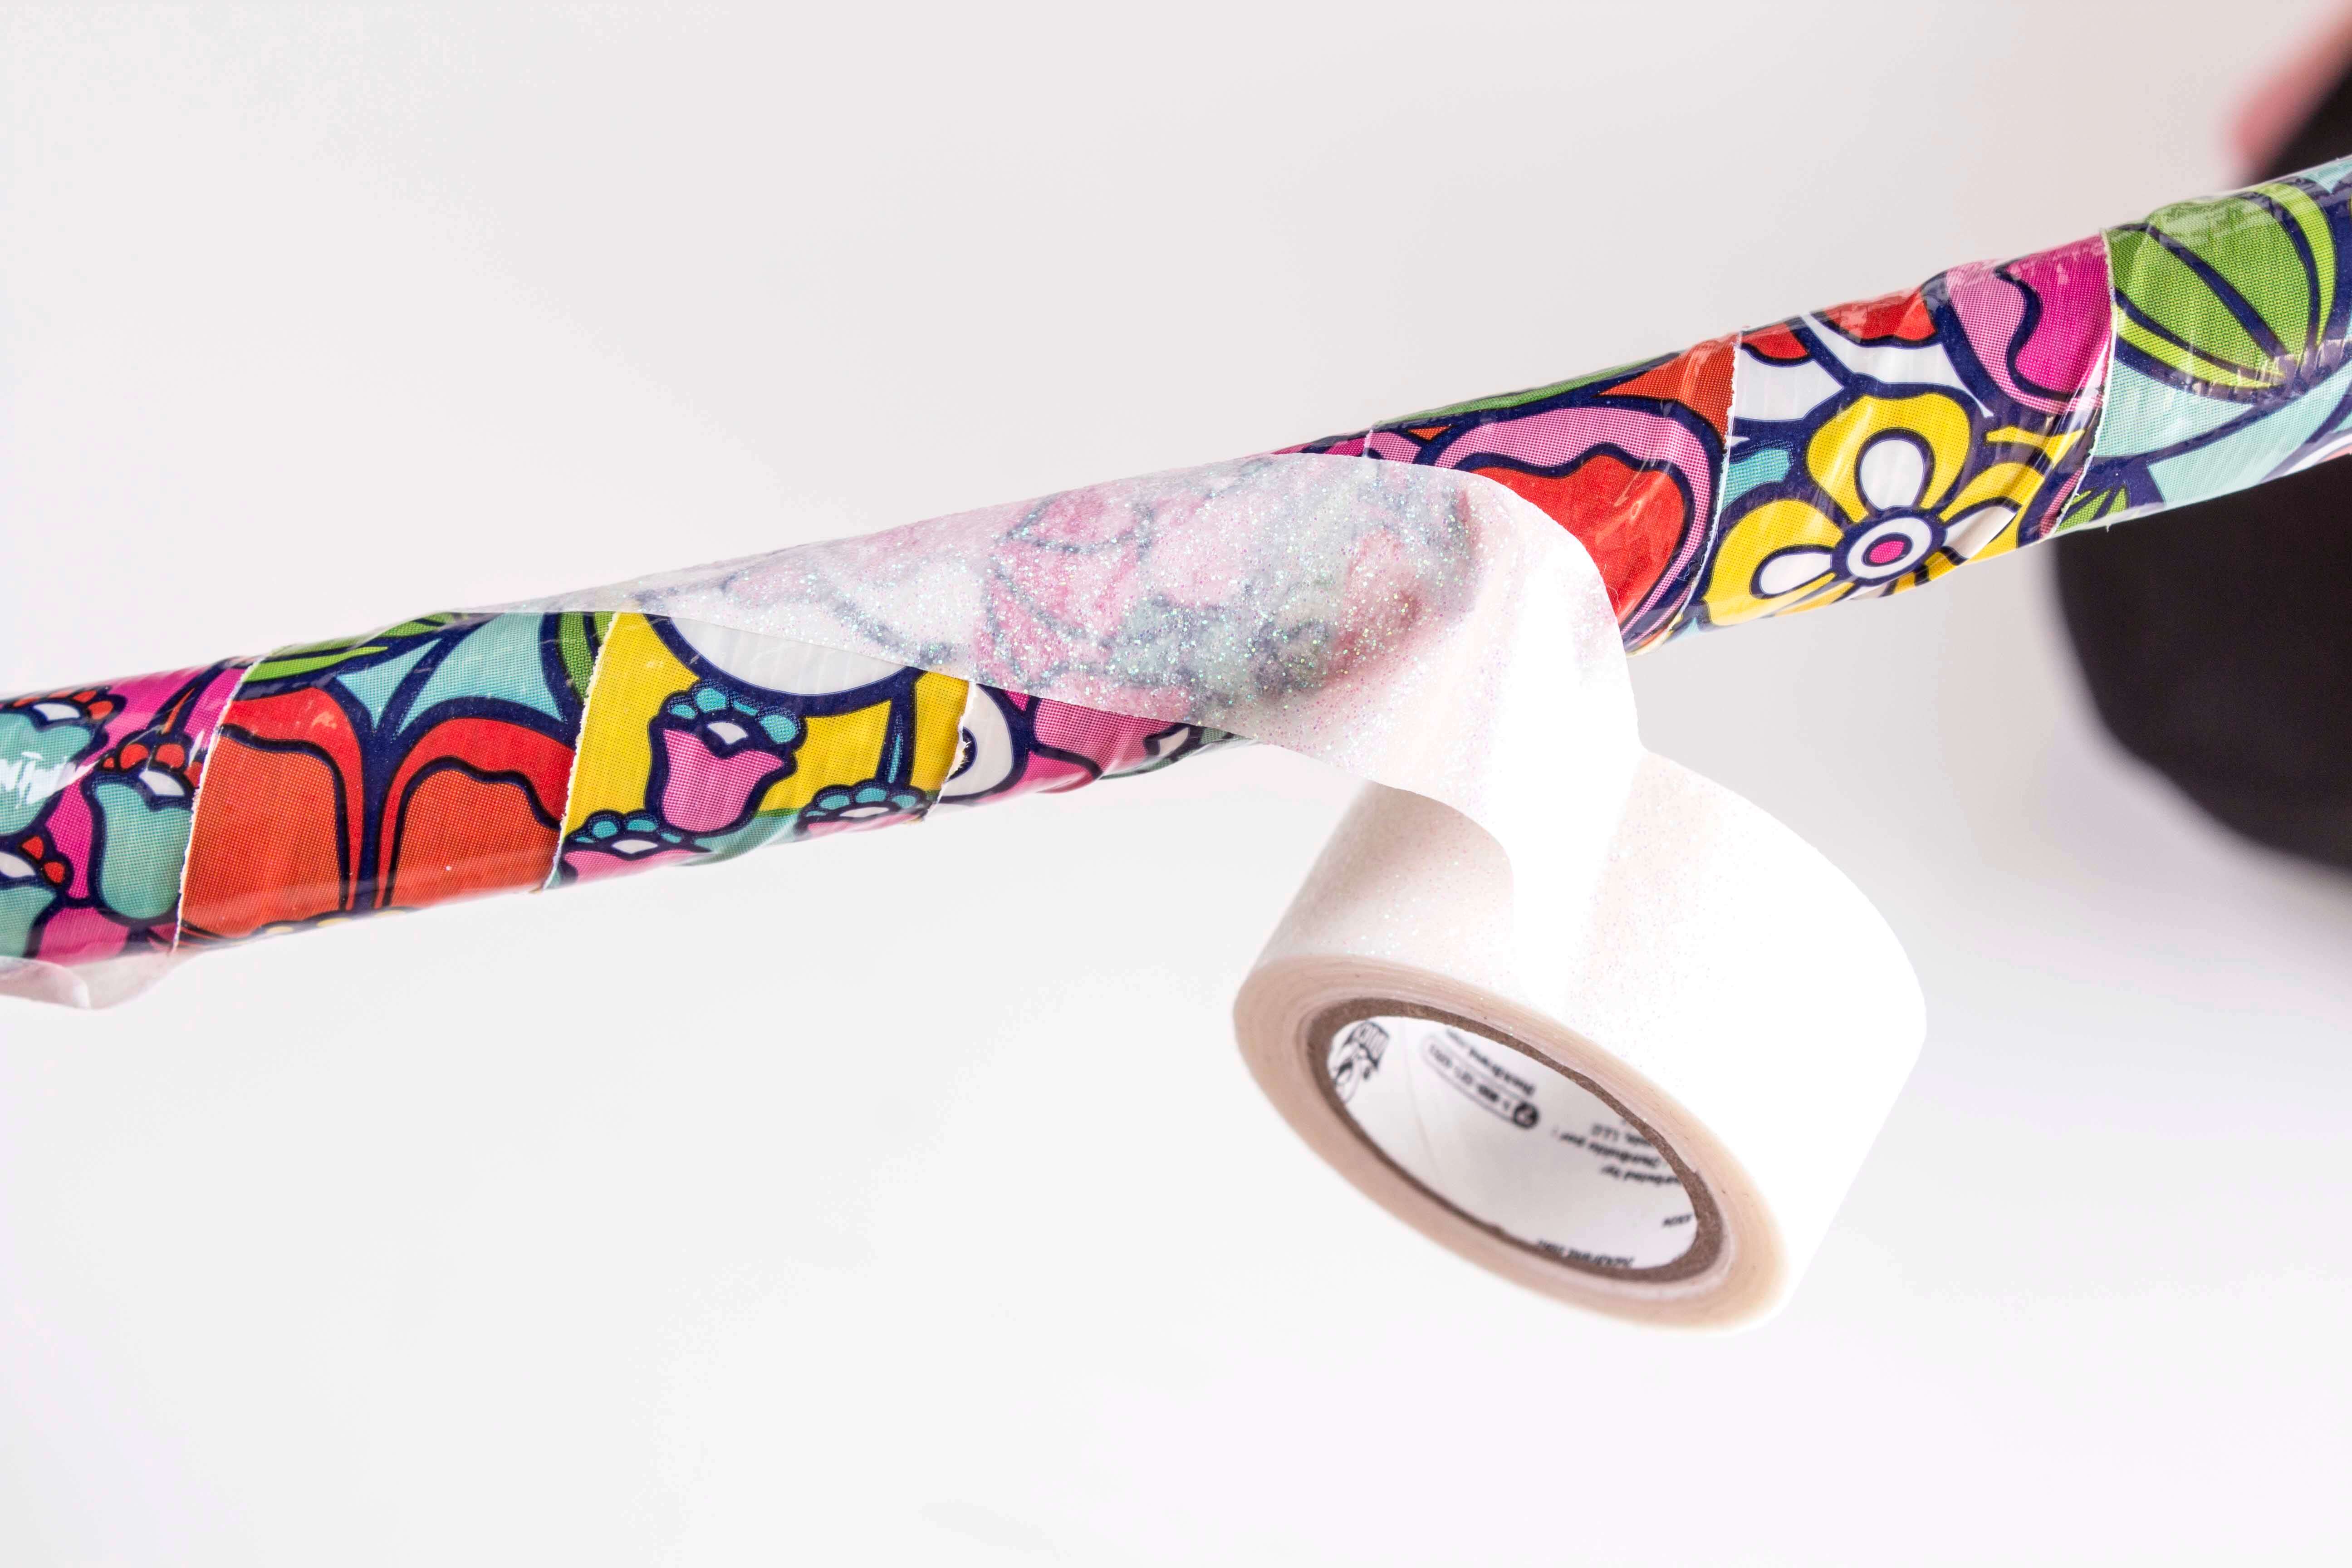
If you’re using narrower tape, you can wrap it with a bit of space between each layer and add on a second layer of different colored tape to fill the spaces. Since we used wider duck tape, we added a second layer of glittery tape right on top.
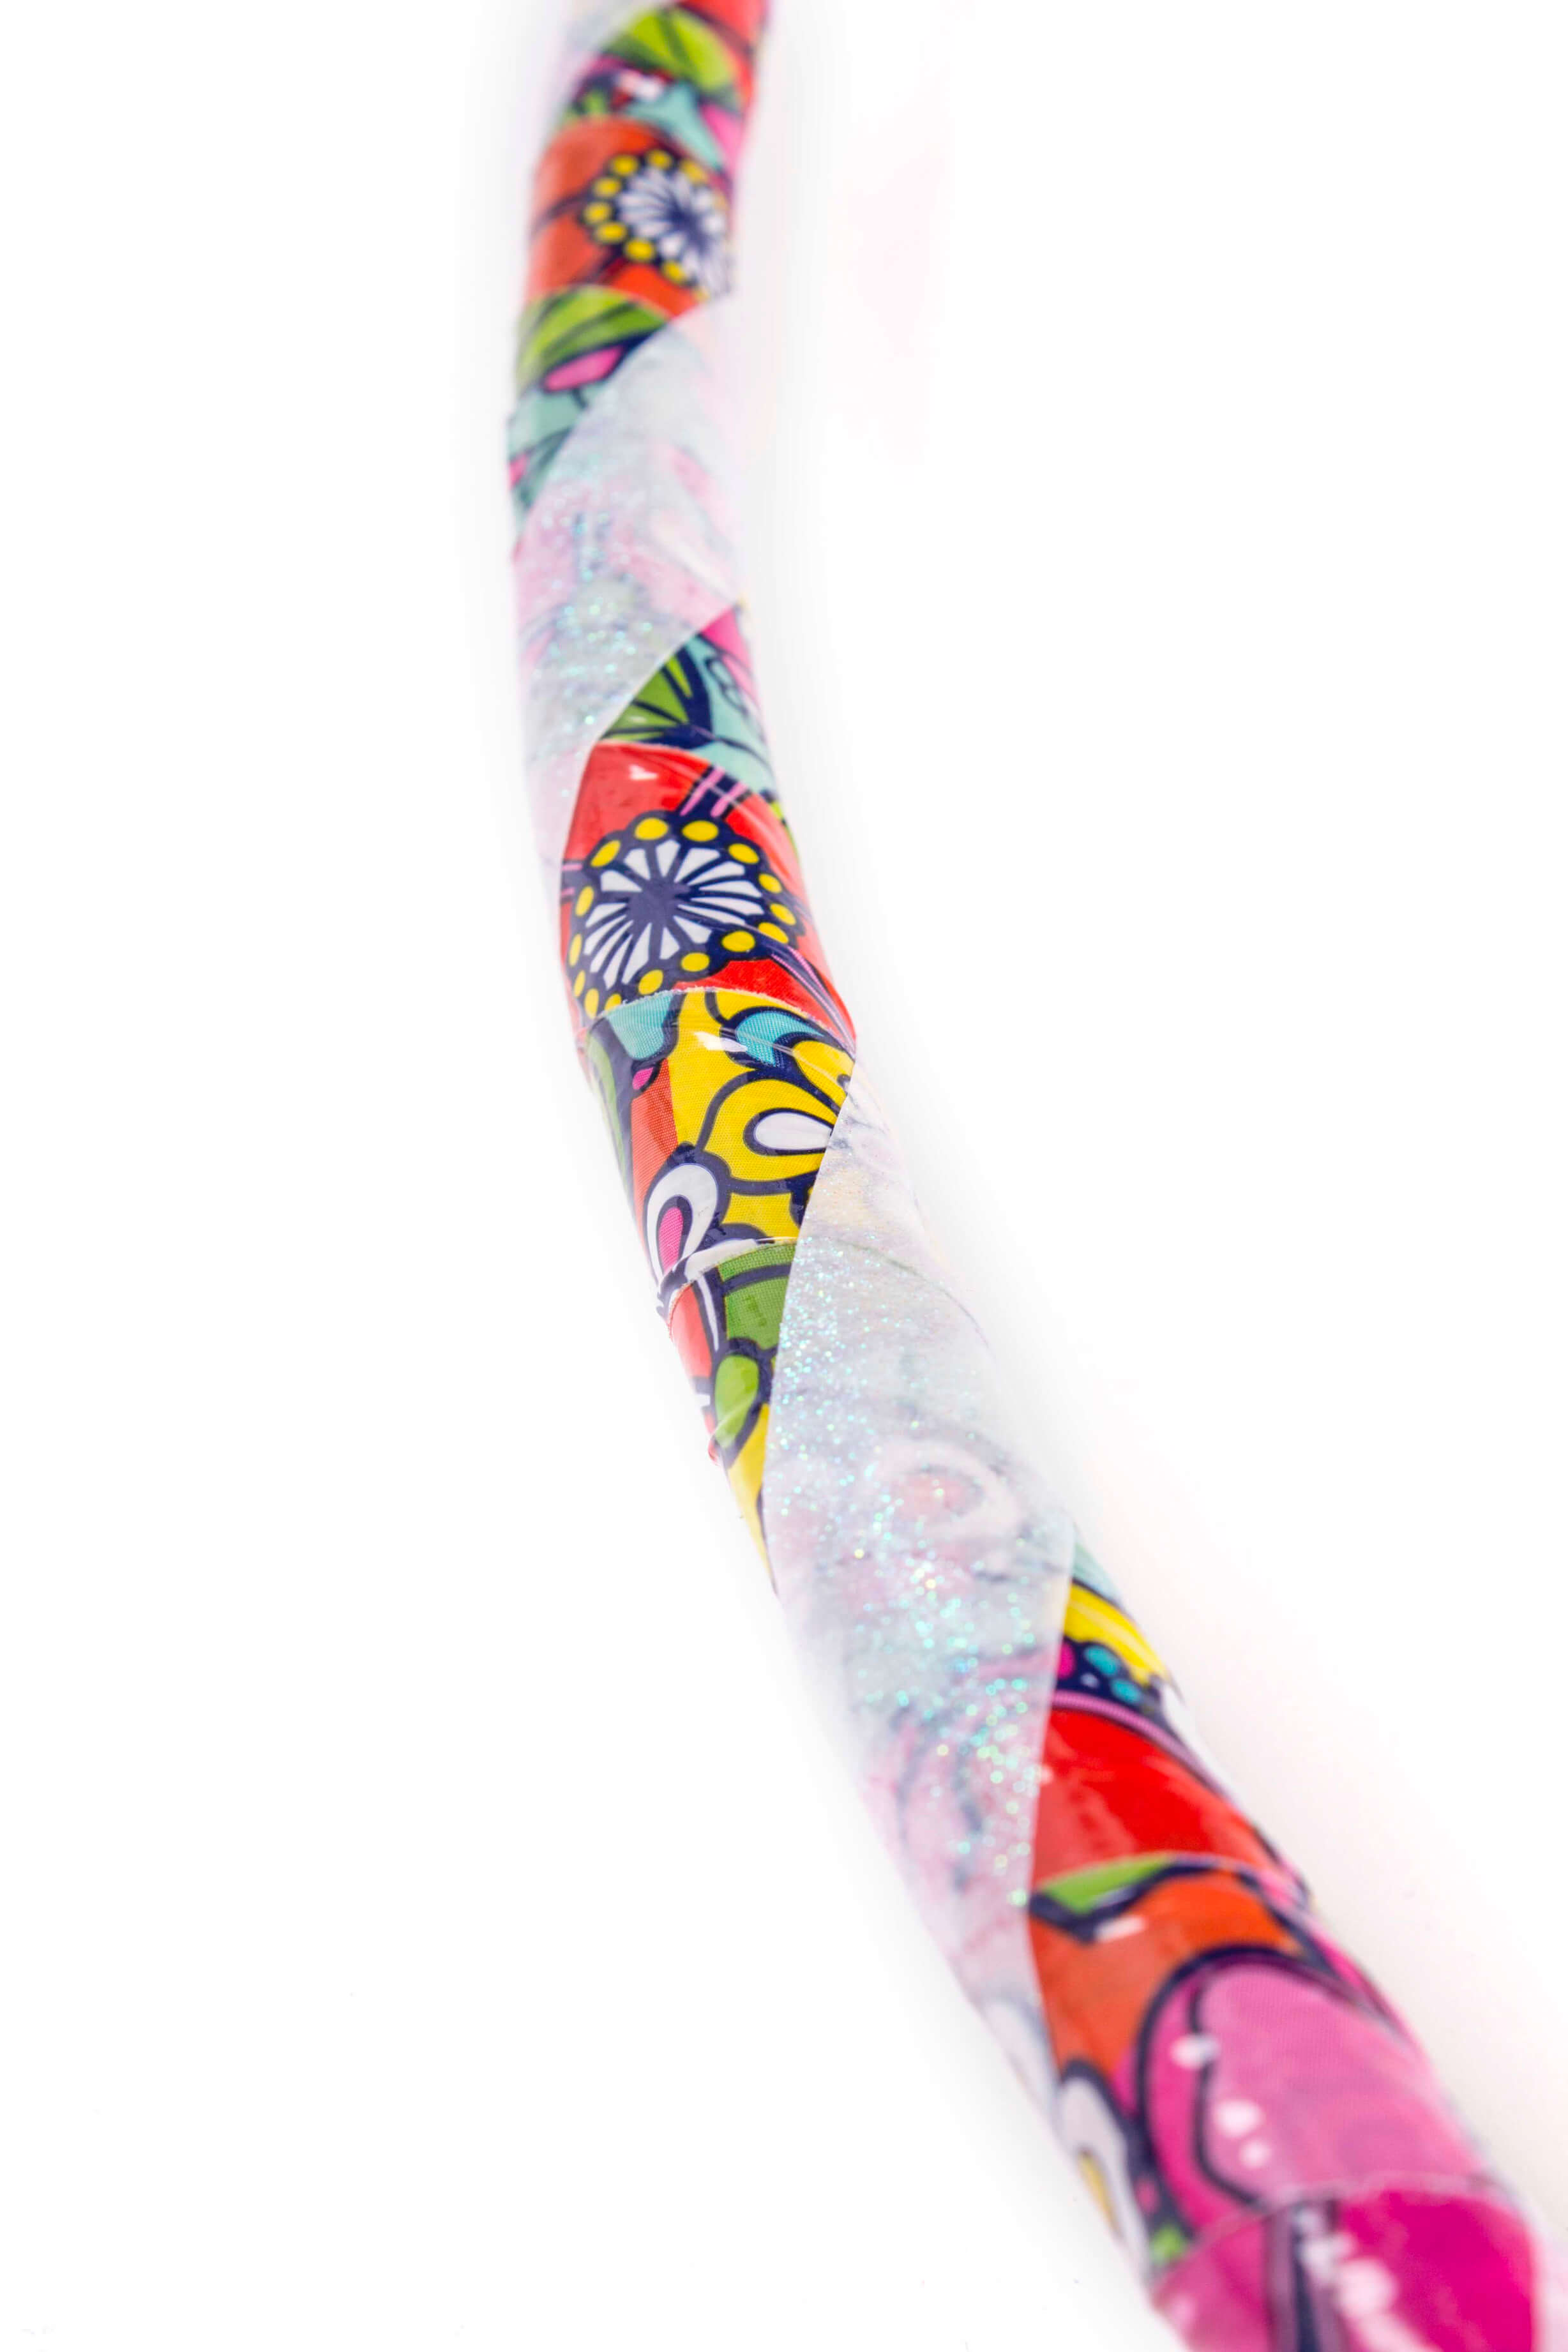
Have some fun (you made a hula hoop)!
Last but not least, head outside and have some fun! Now that you made a hula hoop, there are plenty of hooping tutorials on Youtube if you’re into learning new tips, tricks, and flows. If that’s not your thing, just throw on some of your favorite tunes, some funky hippie threads, and let your freak flag fly!
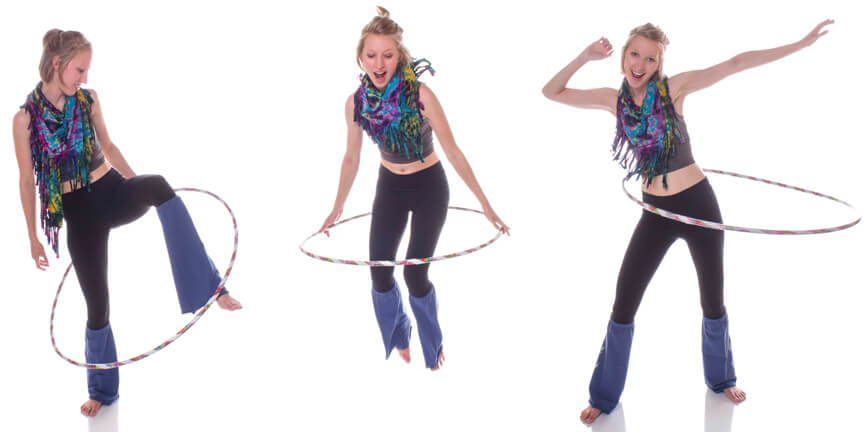
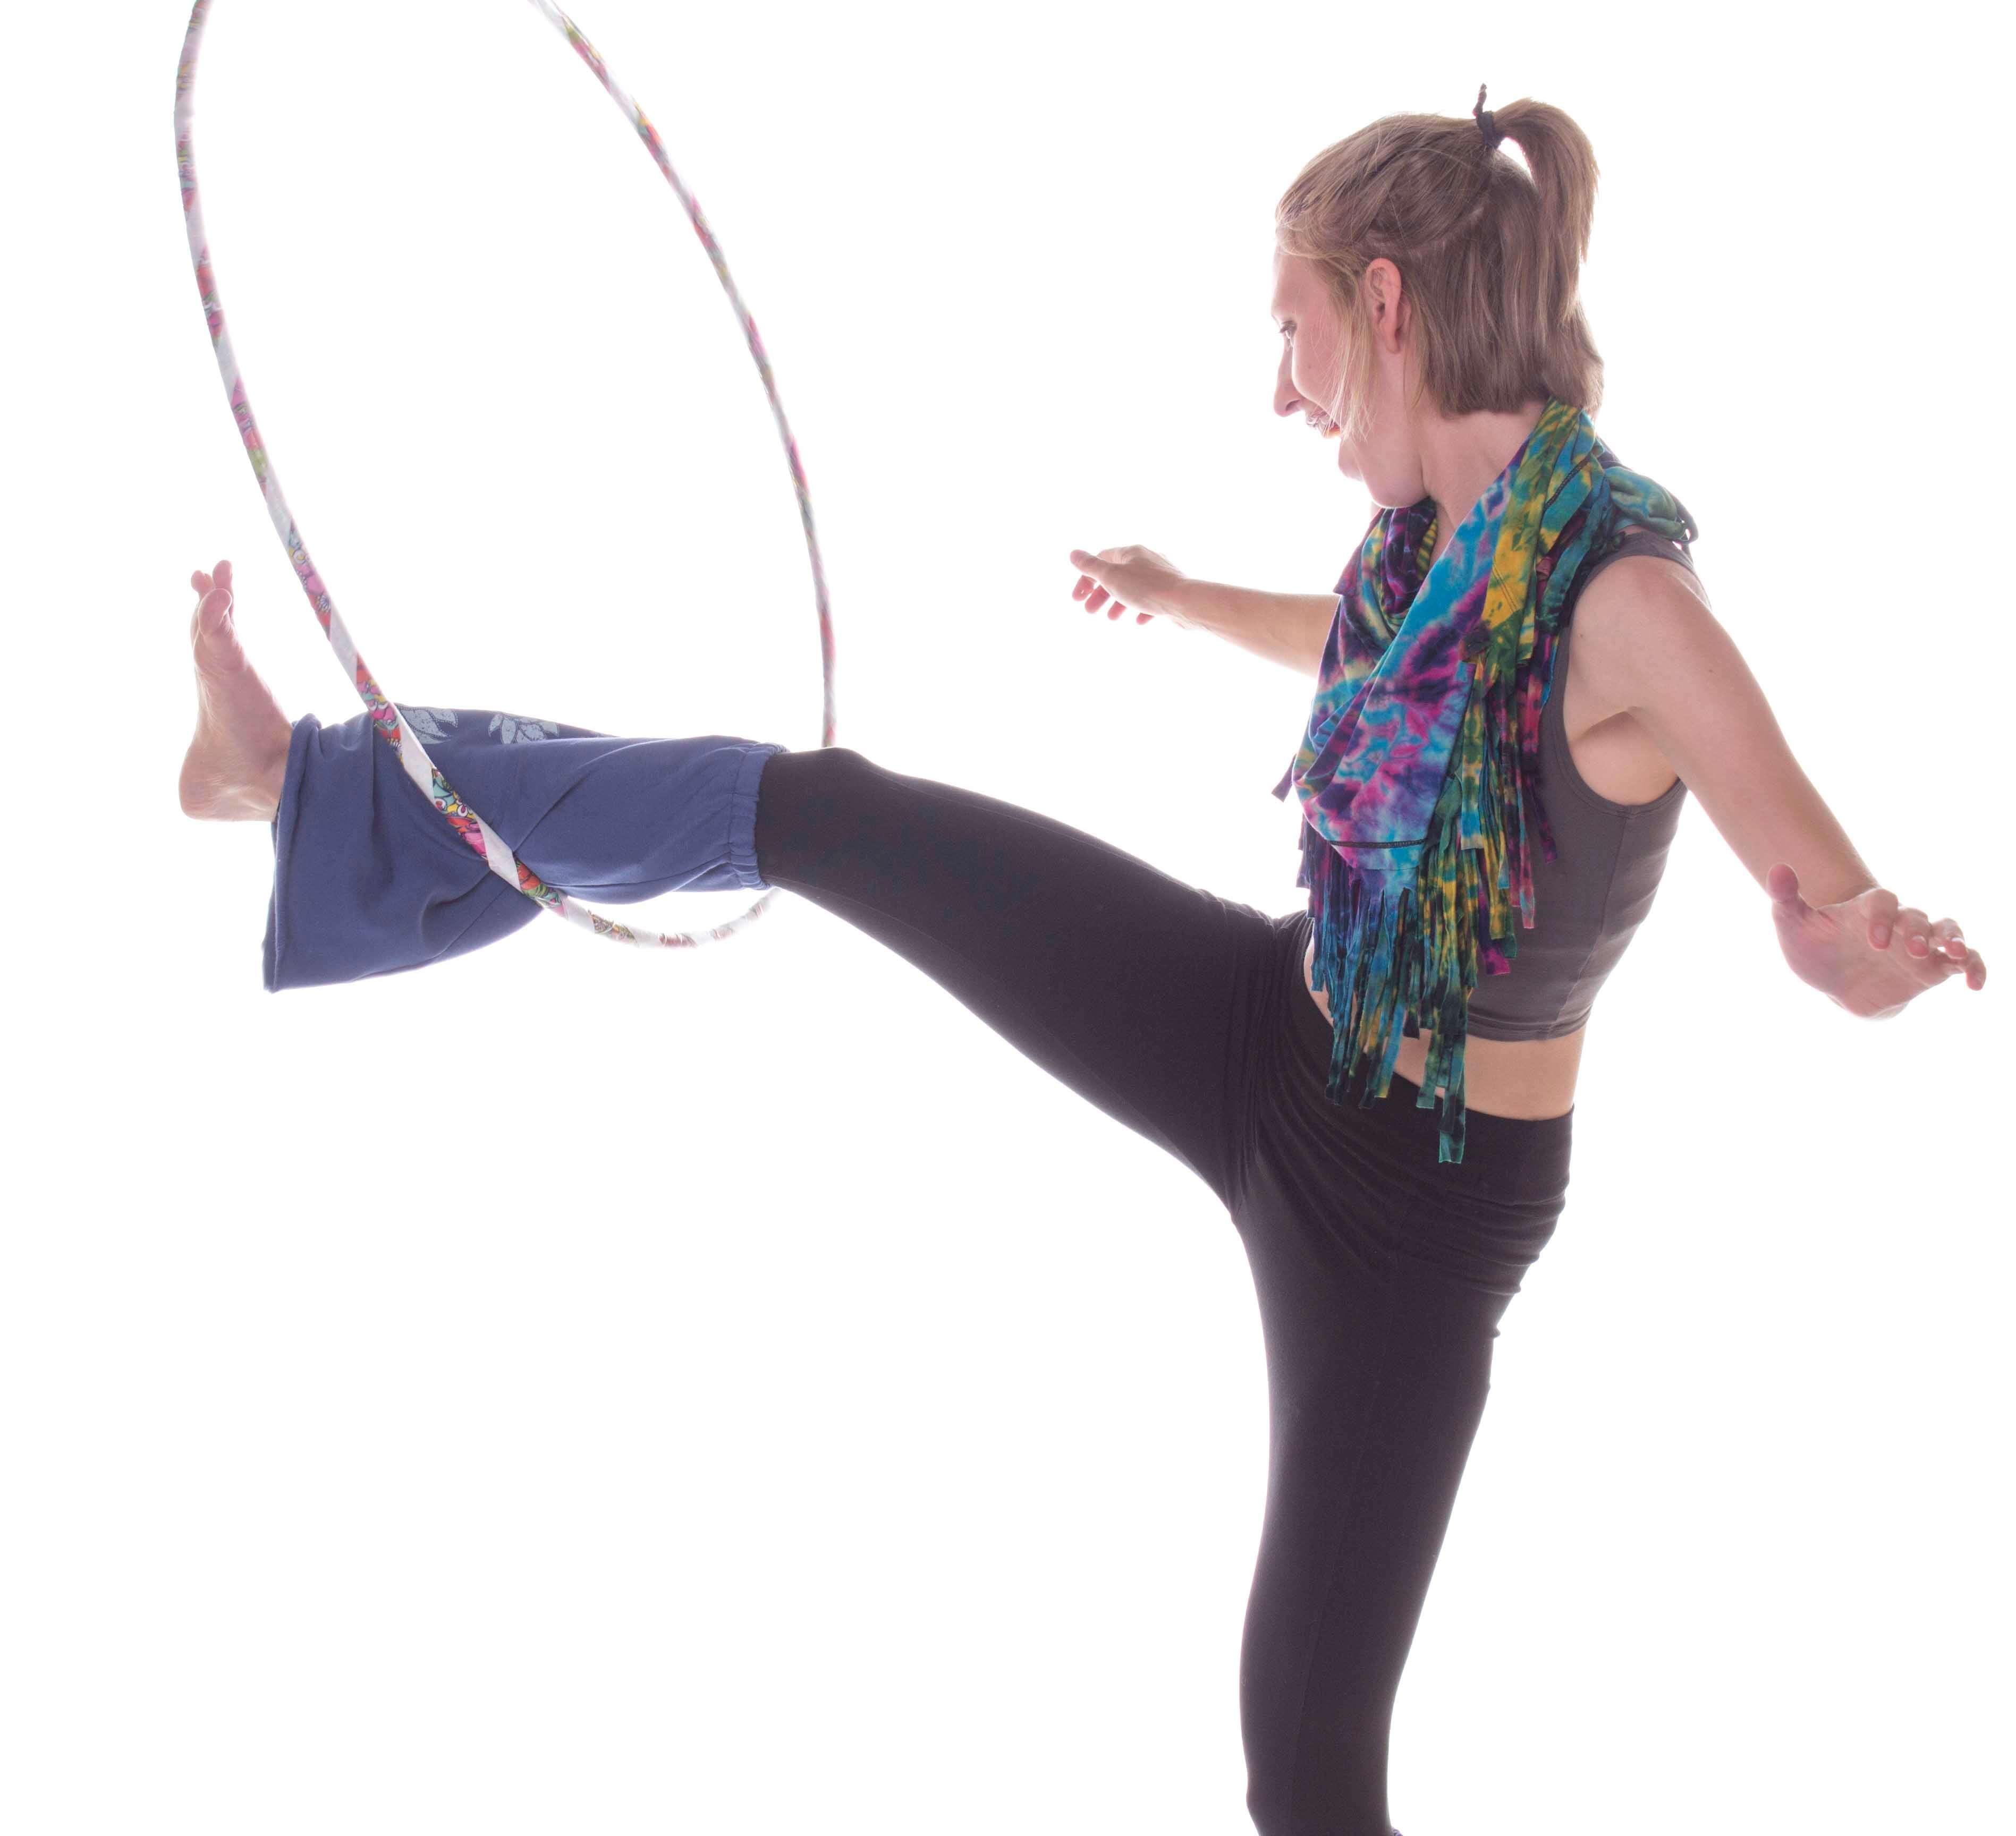
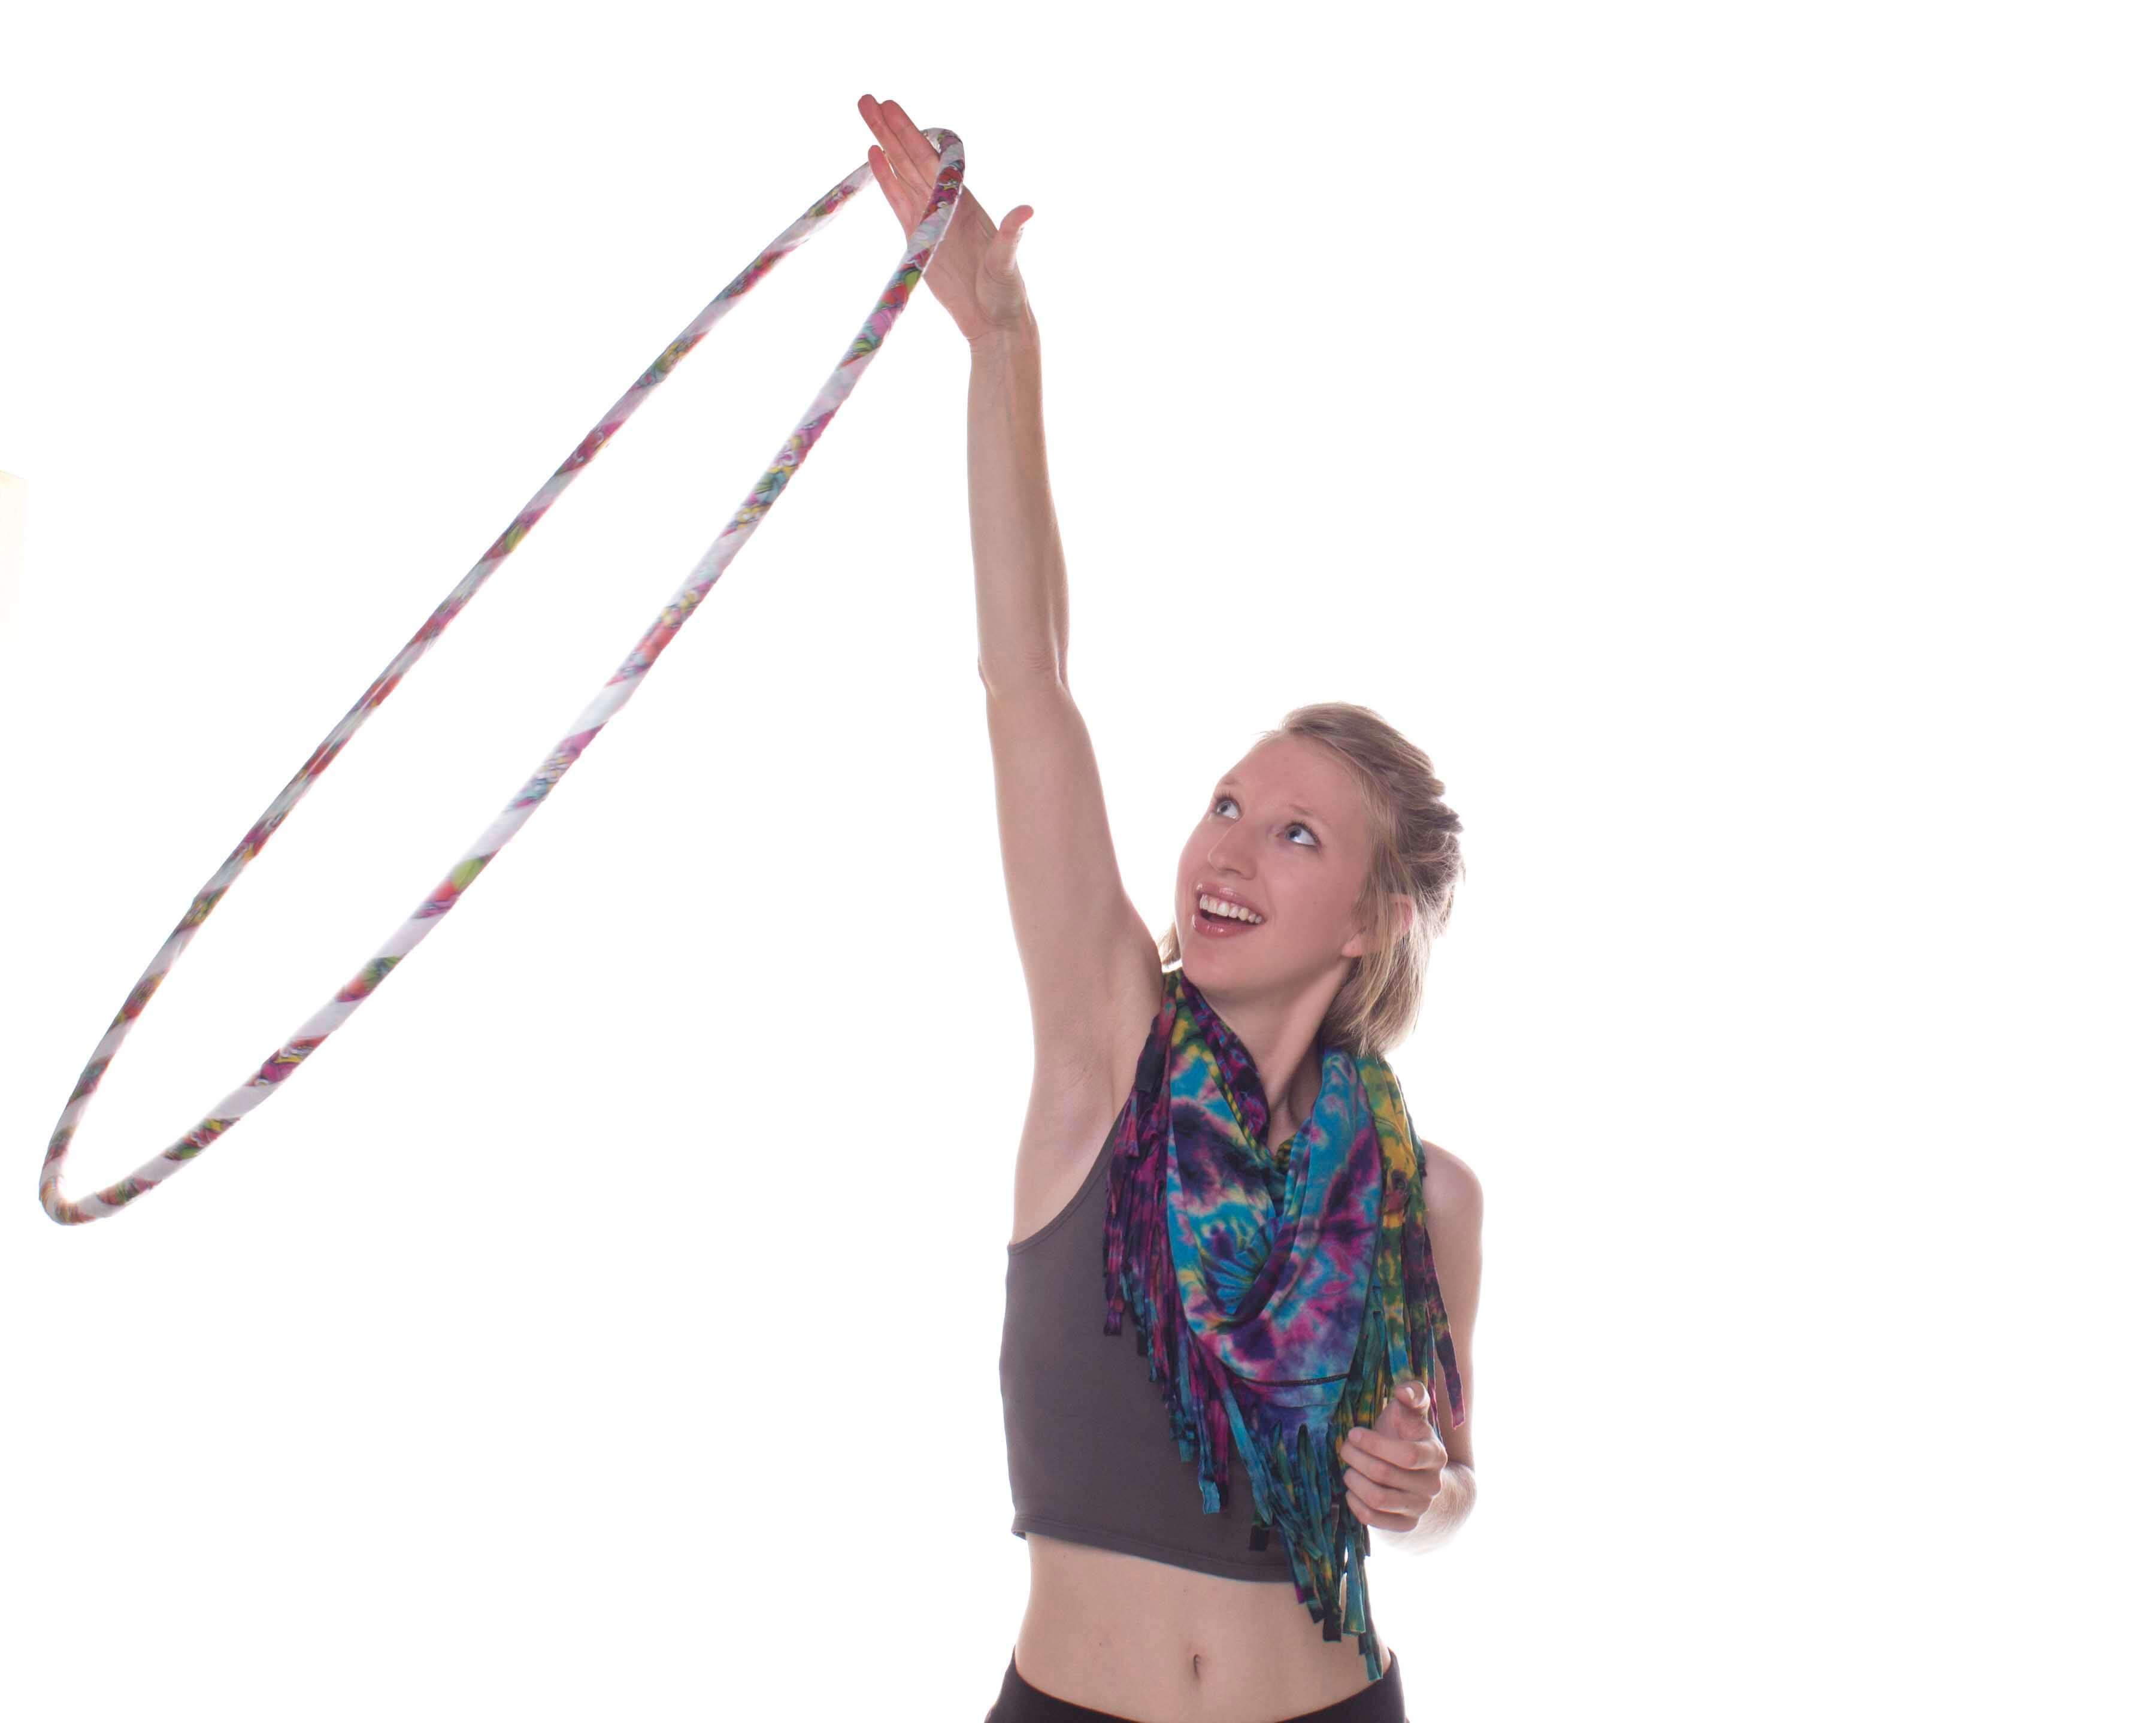
Complete the look with festival hippie clothing, boho earrings, and a boho headband and hoop all day long!
![]()


Claire
June 24, 2016 at 12:38 pm (9 years ago)Just a little advice from an old hoop maker. Use the gray, plastic couplings. They are cheaper and lighter than the brass ones pictured here, and won’t throw off the balance of your hoop. You can also use a smaller piece if tubing that fits tight, then secure it with tape, or small screws or rivets.
Also, if you use a glitter tape, or any other shiny specialty tape (aka anything with a paper backing), you will want to seal the edges to the hoop with some vinyl or gaffer tape. Those glittery tapes have hard edges that will peel up. It makes the hoop look worn, but it can also scratch your skin, or even cut you if it peels too badly.
Just a couple little tidbits. Hope it helps. Happy hooping!
Soul Flower
June 24, 2016 at 9:43 pm (9 years ago)Thanks for the tips, bud! 🙂 Happy hooping to you too!